


Rabbitgoo Home
rabbitgoo Blue Lily Stained Glass Window Film
rabbitgoo Blue Lily Stained Glass Window Film
Description
Description

-

rabbitgoo - Committed to benefiting, we look forward to creating a unique look with low cost, making your house more lively.
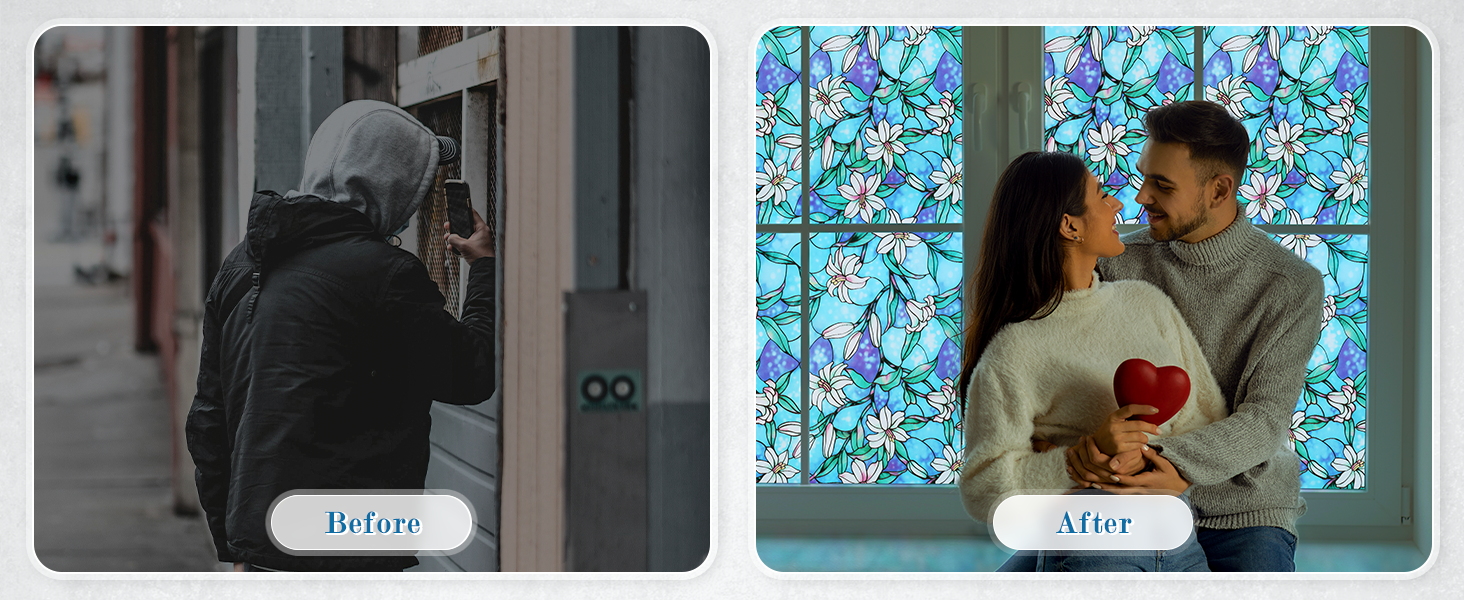
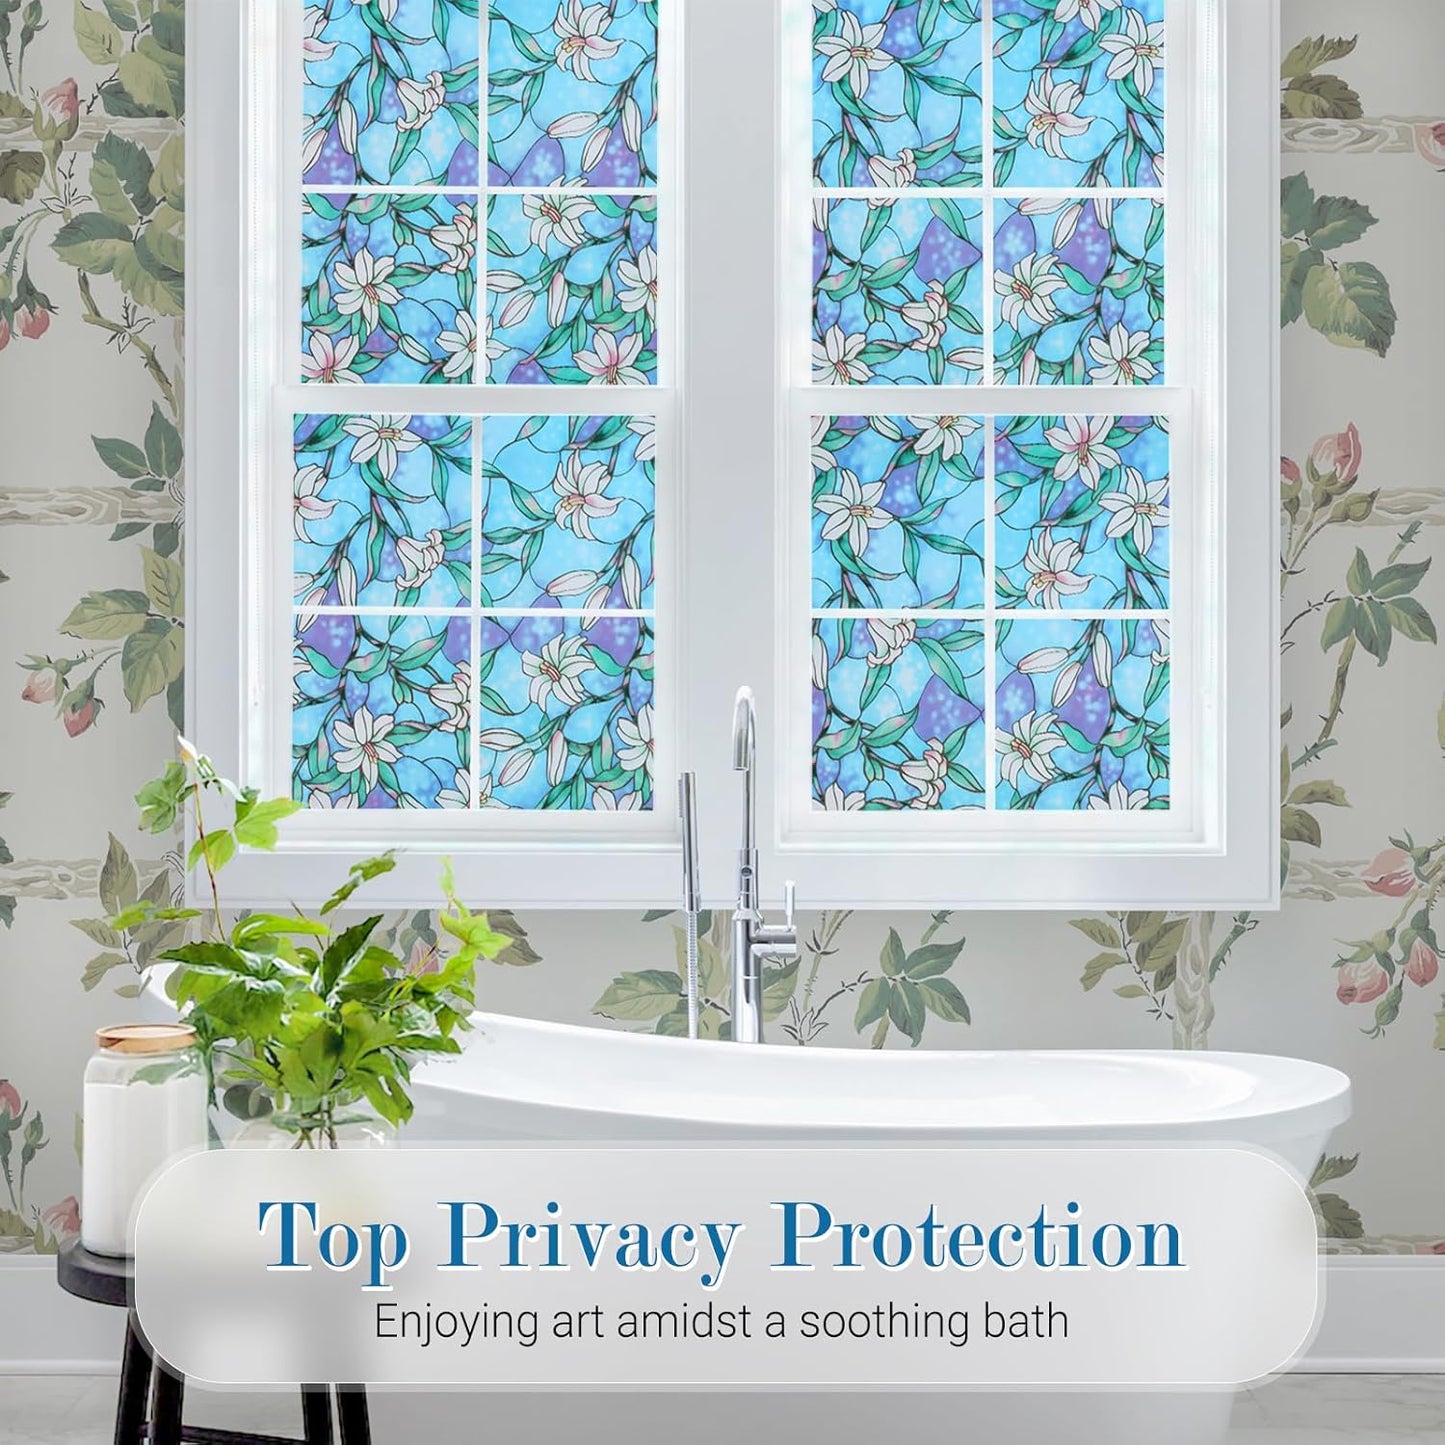
- Add decoration to the window, bring protection to our life.
- Demount all the busy work, and hand your heart to the beautiful home gently, give good rest for yourself.
- Quality you can trust, we have promoted window film upgrades for many years. Offer considerate pre and post sales service.
-

Total Blackout Window Film
100% light blocking
Vintage Charm for Your Home

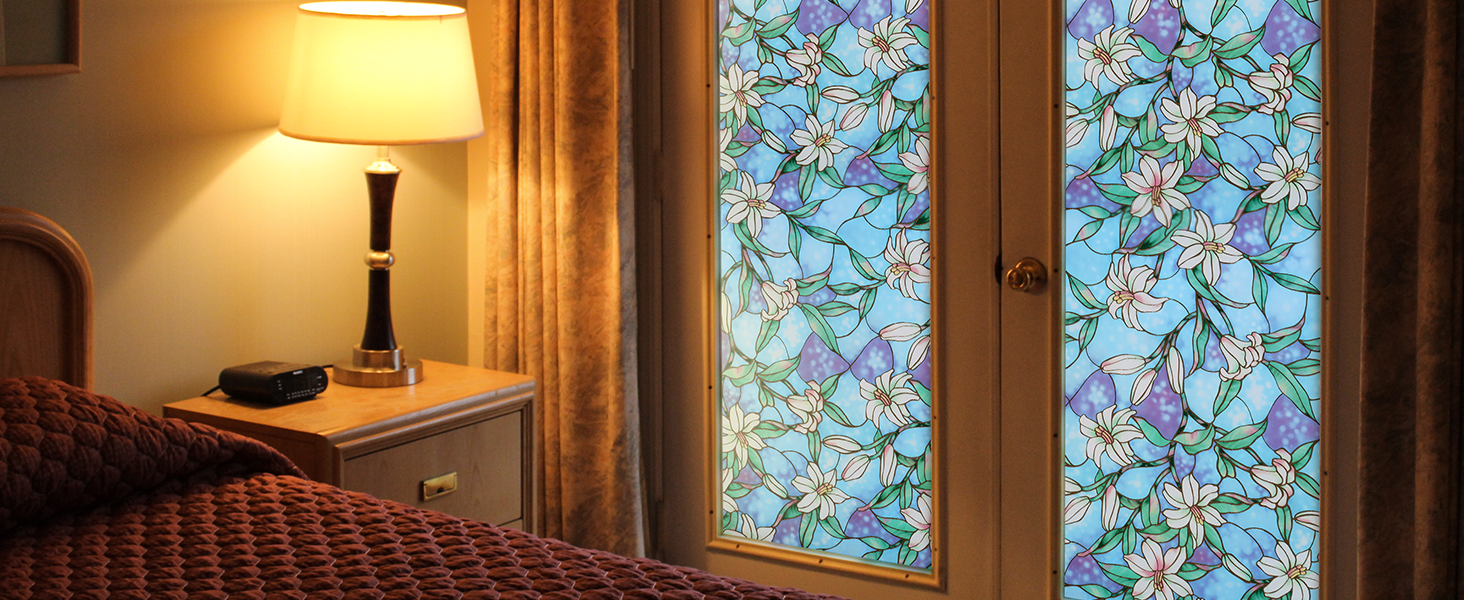
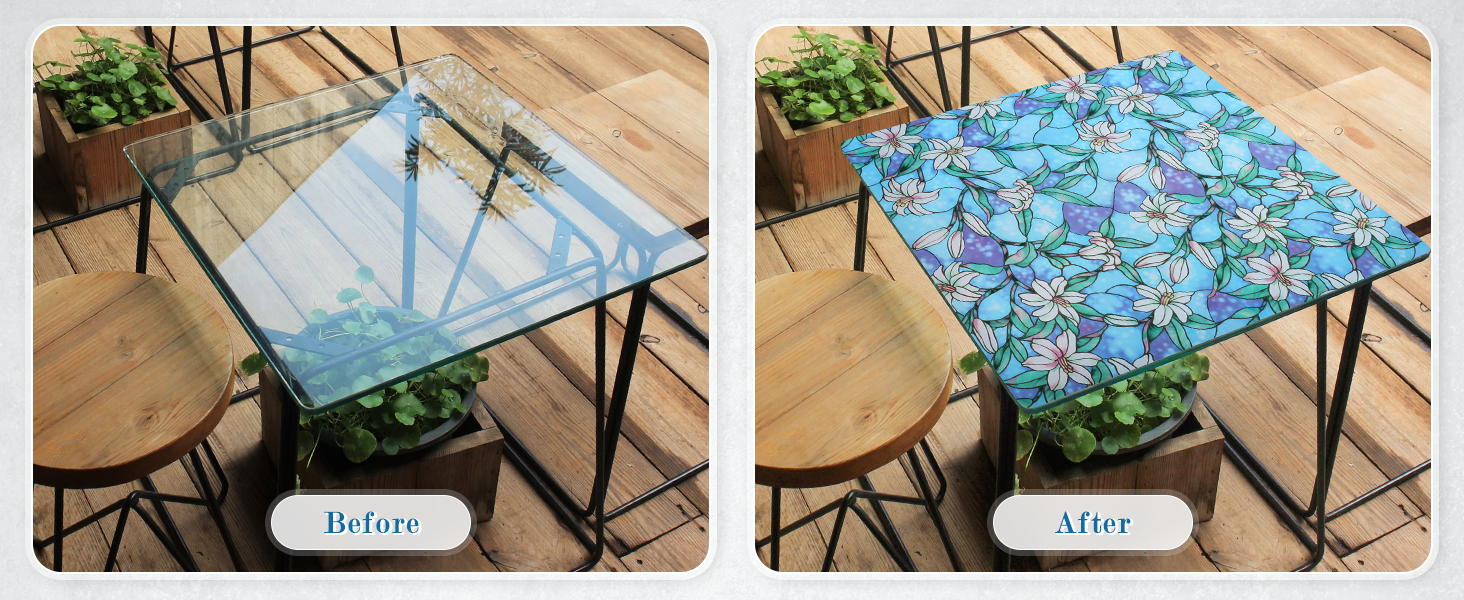
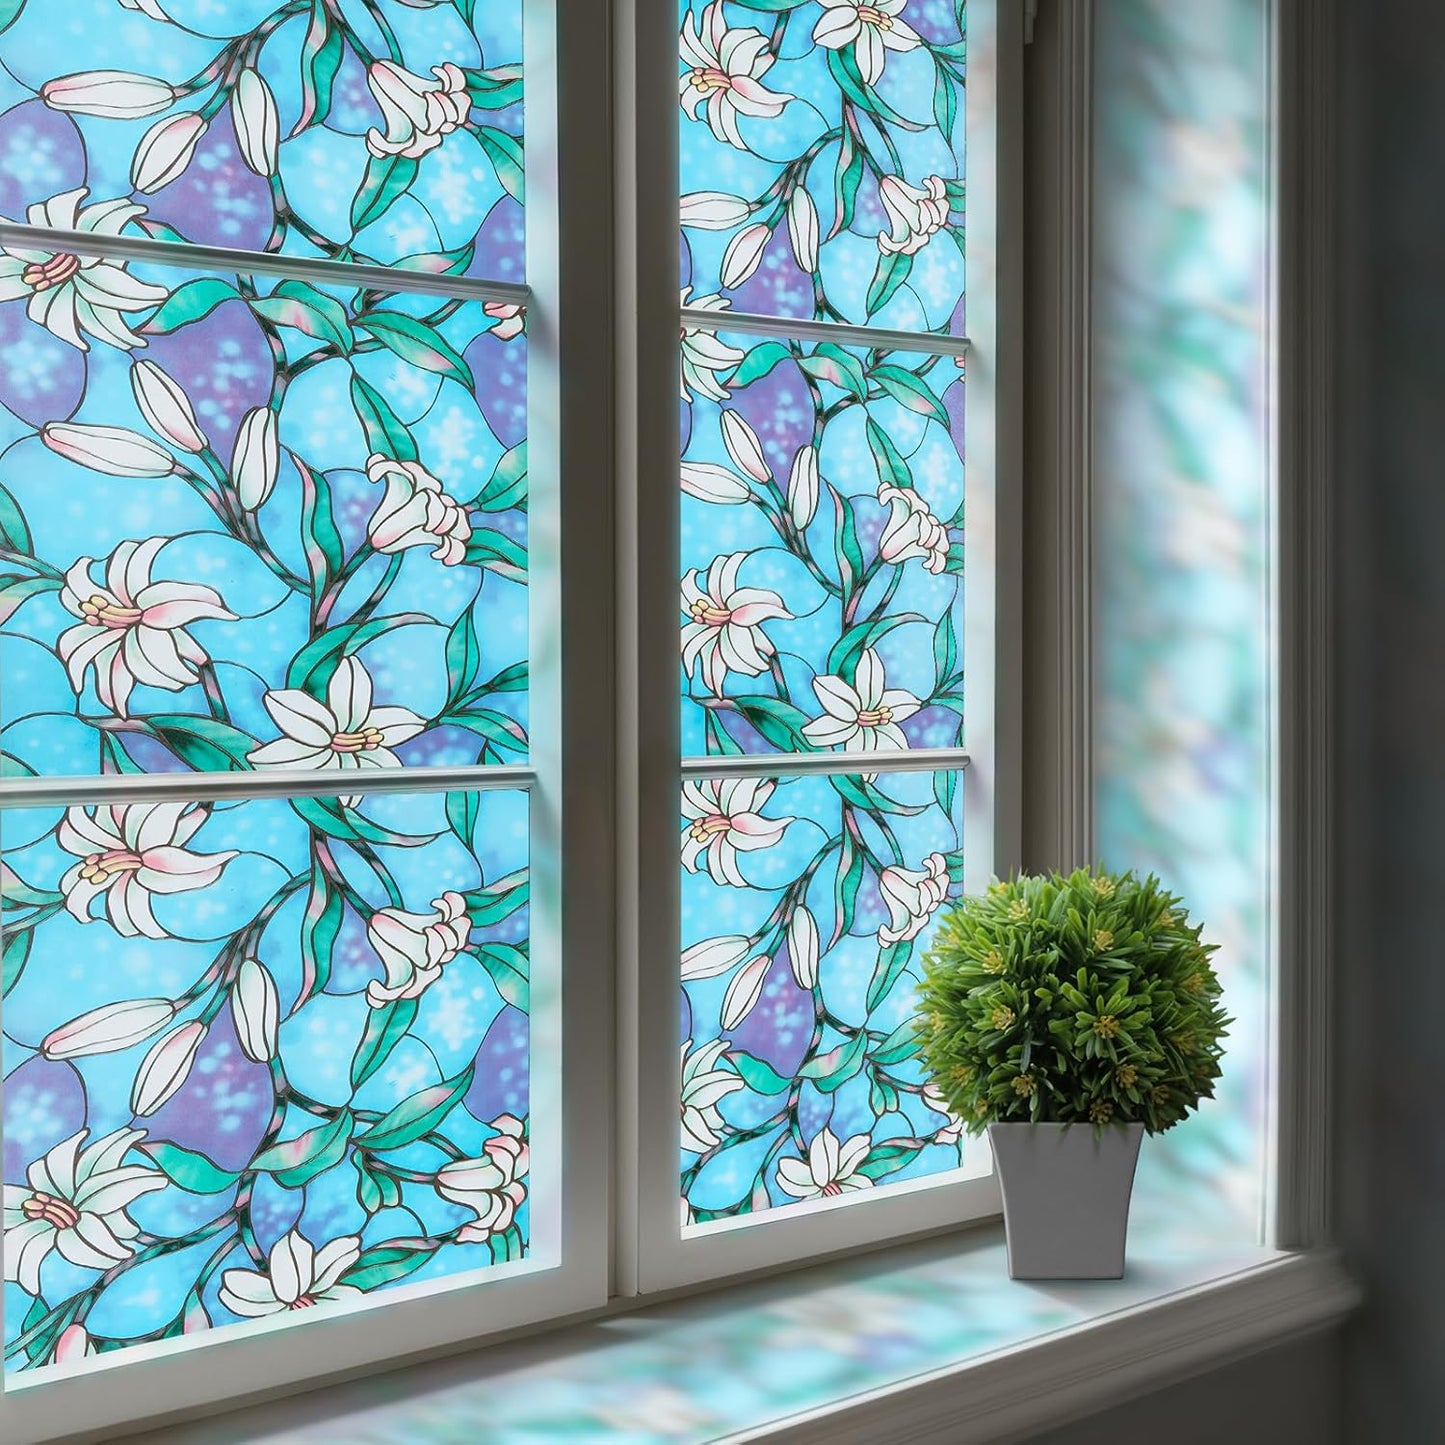
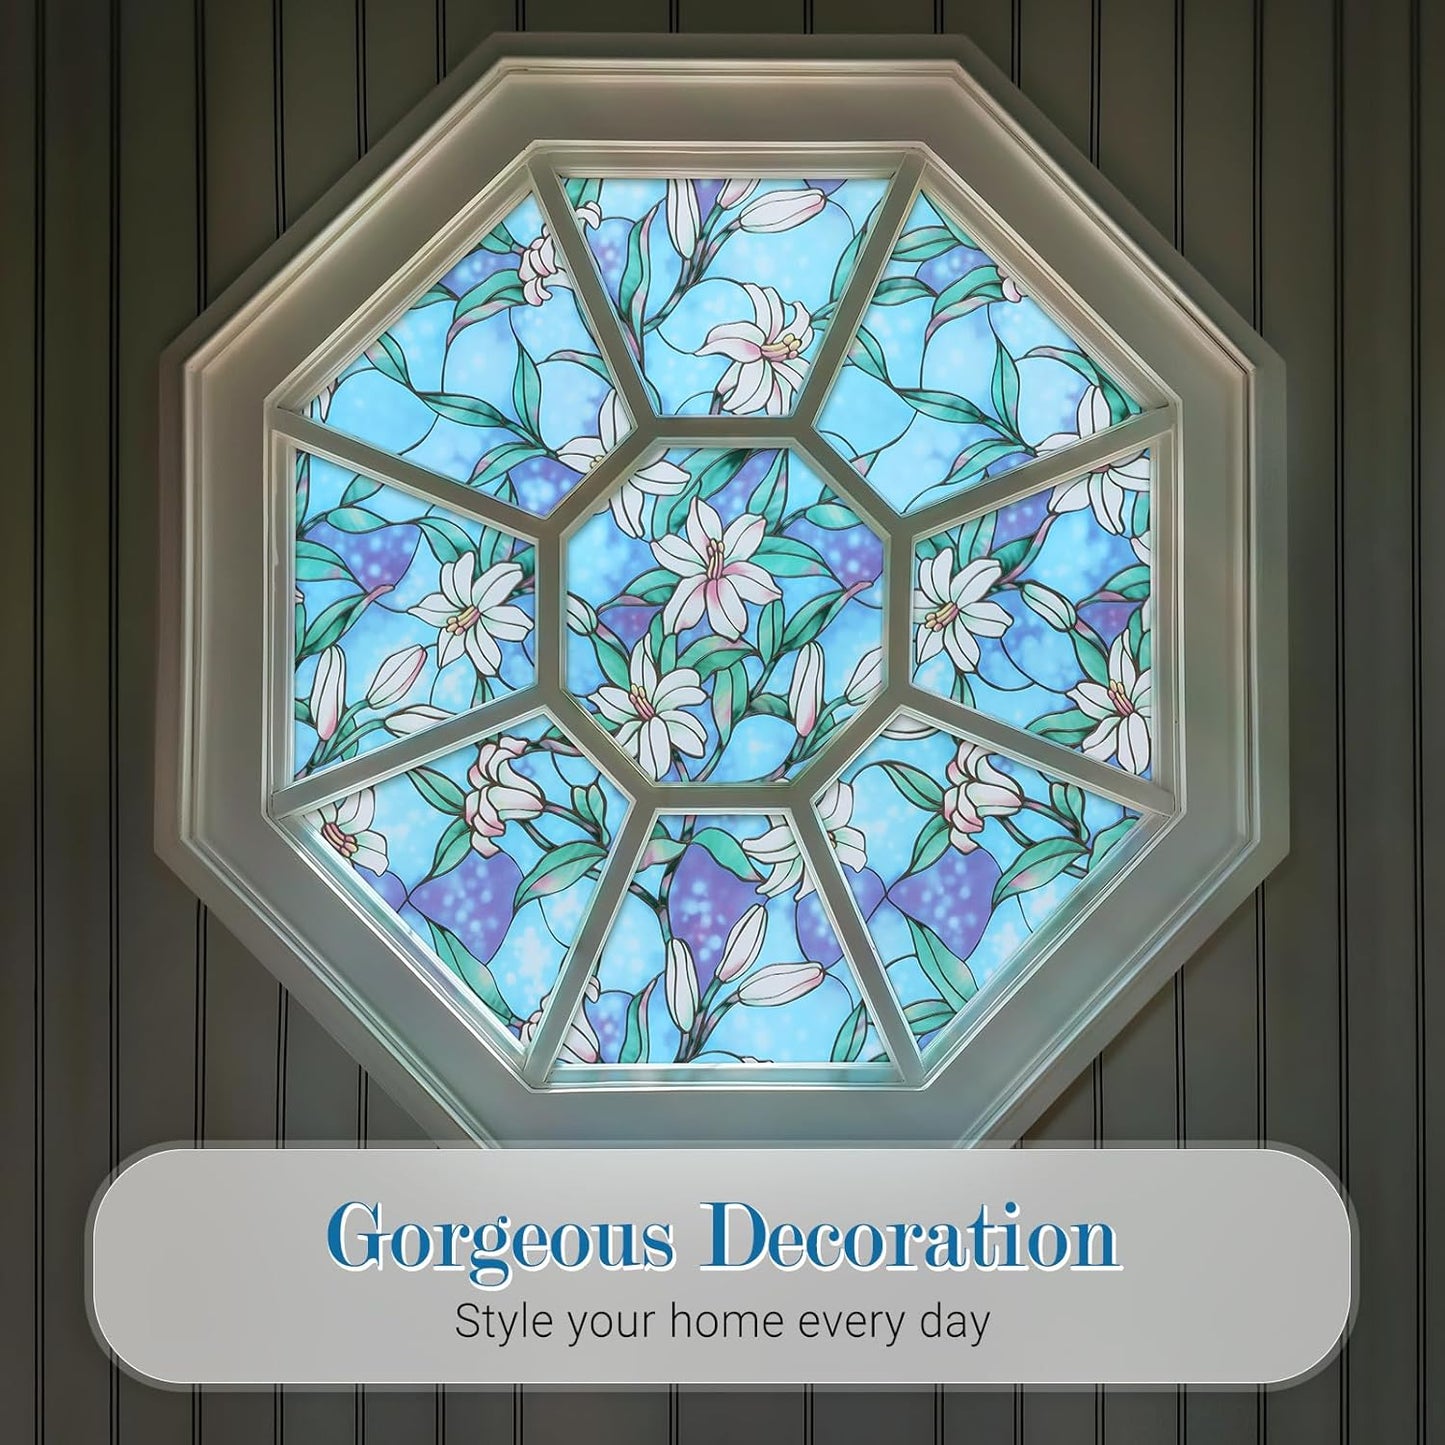
The rabbitgoo stained glass window film transforms ordinary glass surfaces into stunning works of art, casting vibrant hues and intricate patterns that dance with light. This chic design element not only enhances privacy but also infuses any space with a touch of elegance and sophistication

Under varying light, stain glass window film for glass shifts colors, bringing ever-changing hues that transform your mood.


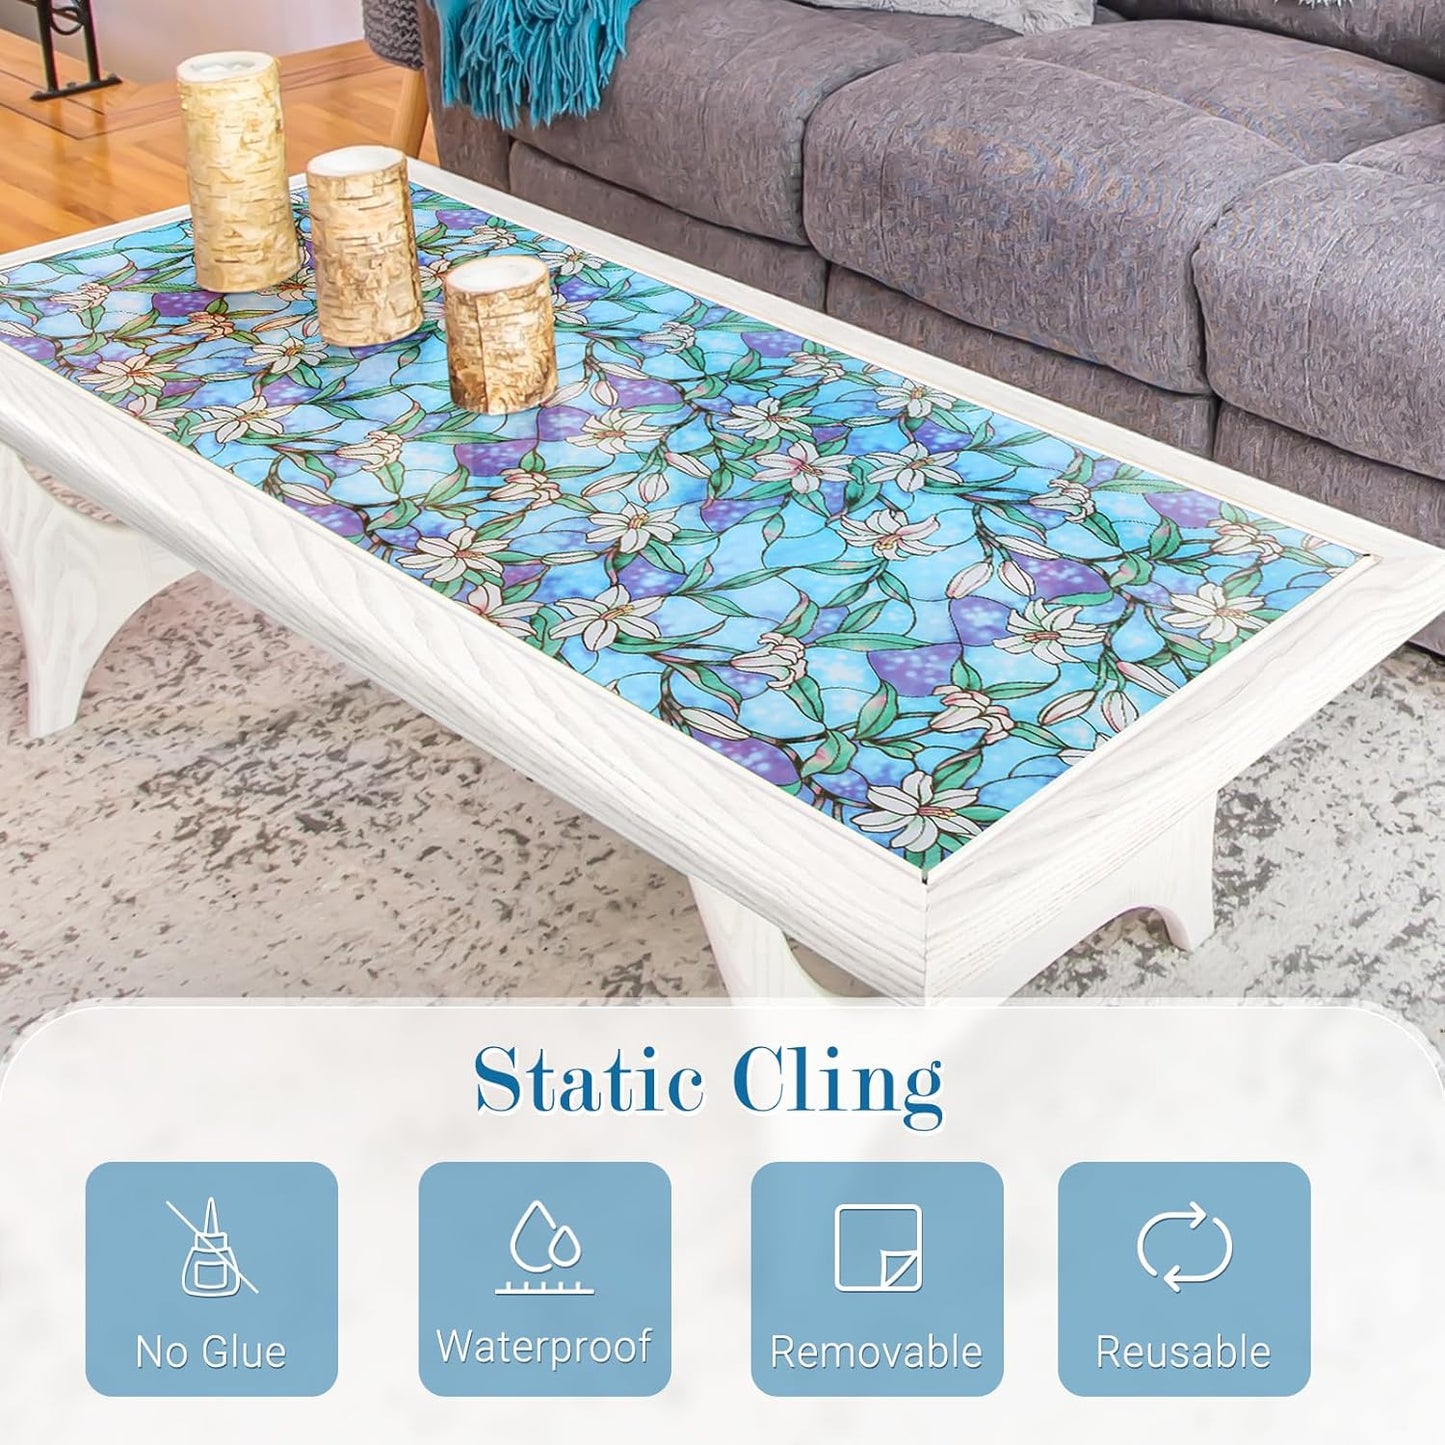
Enjoy DIY
You can freely cut and paste the window decals for glass windows according to your needs and aesthetics

Measure Carefully
It's advisable to buy a larger size in one go to ensure you have ample coverage and achieve a more seamless and attractive result

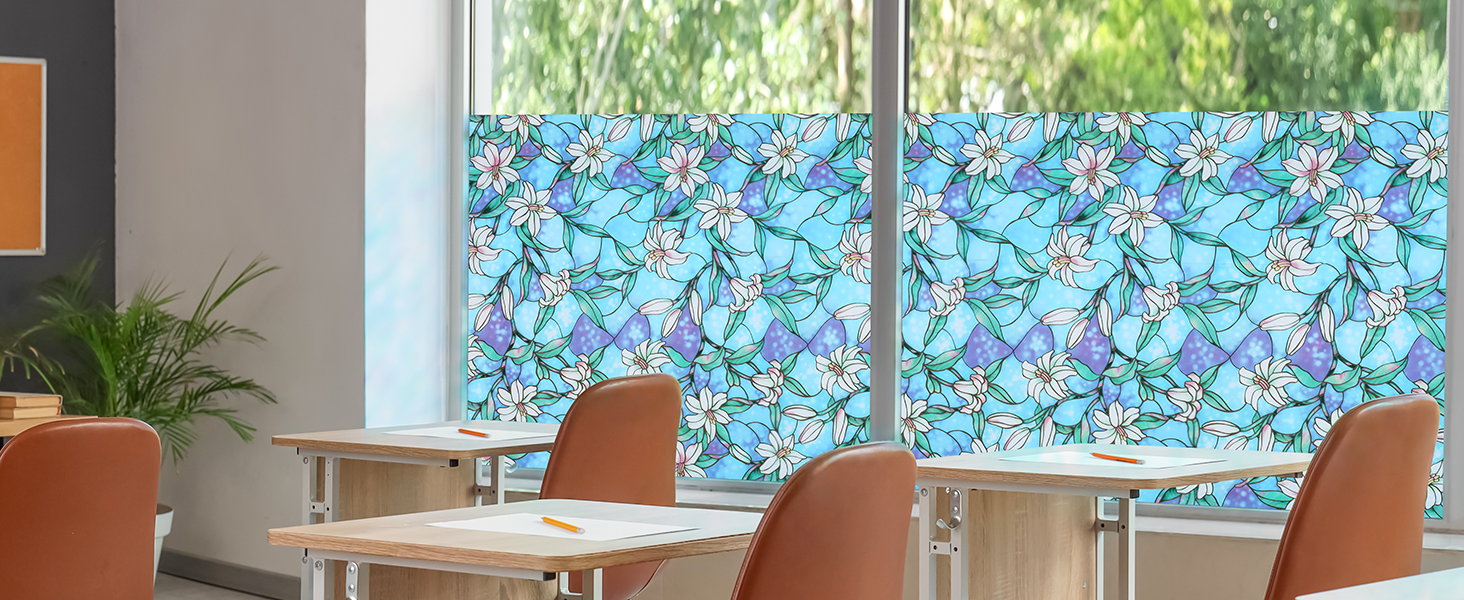
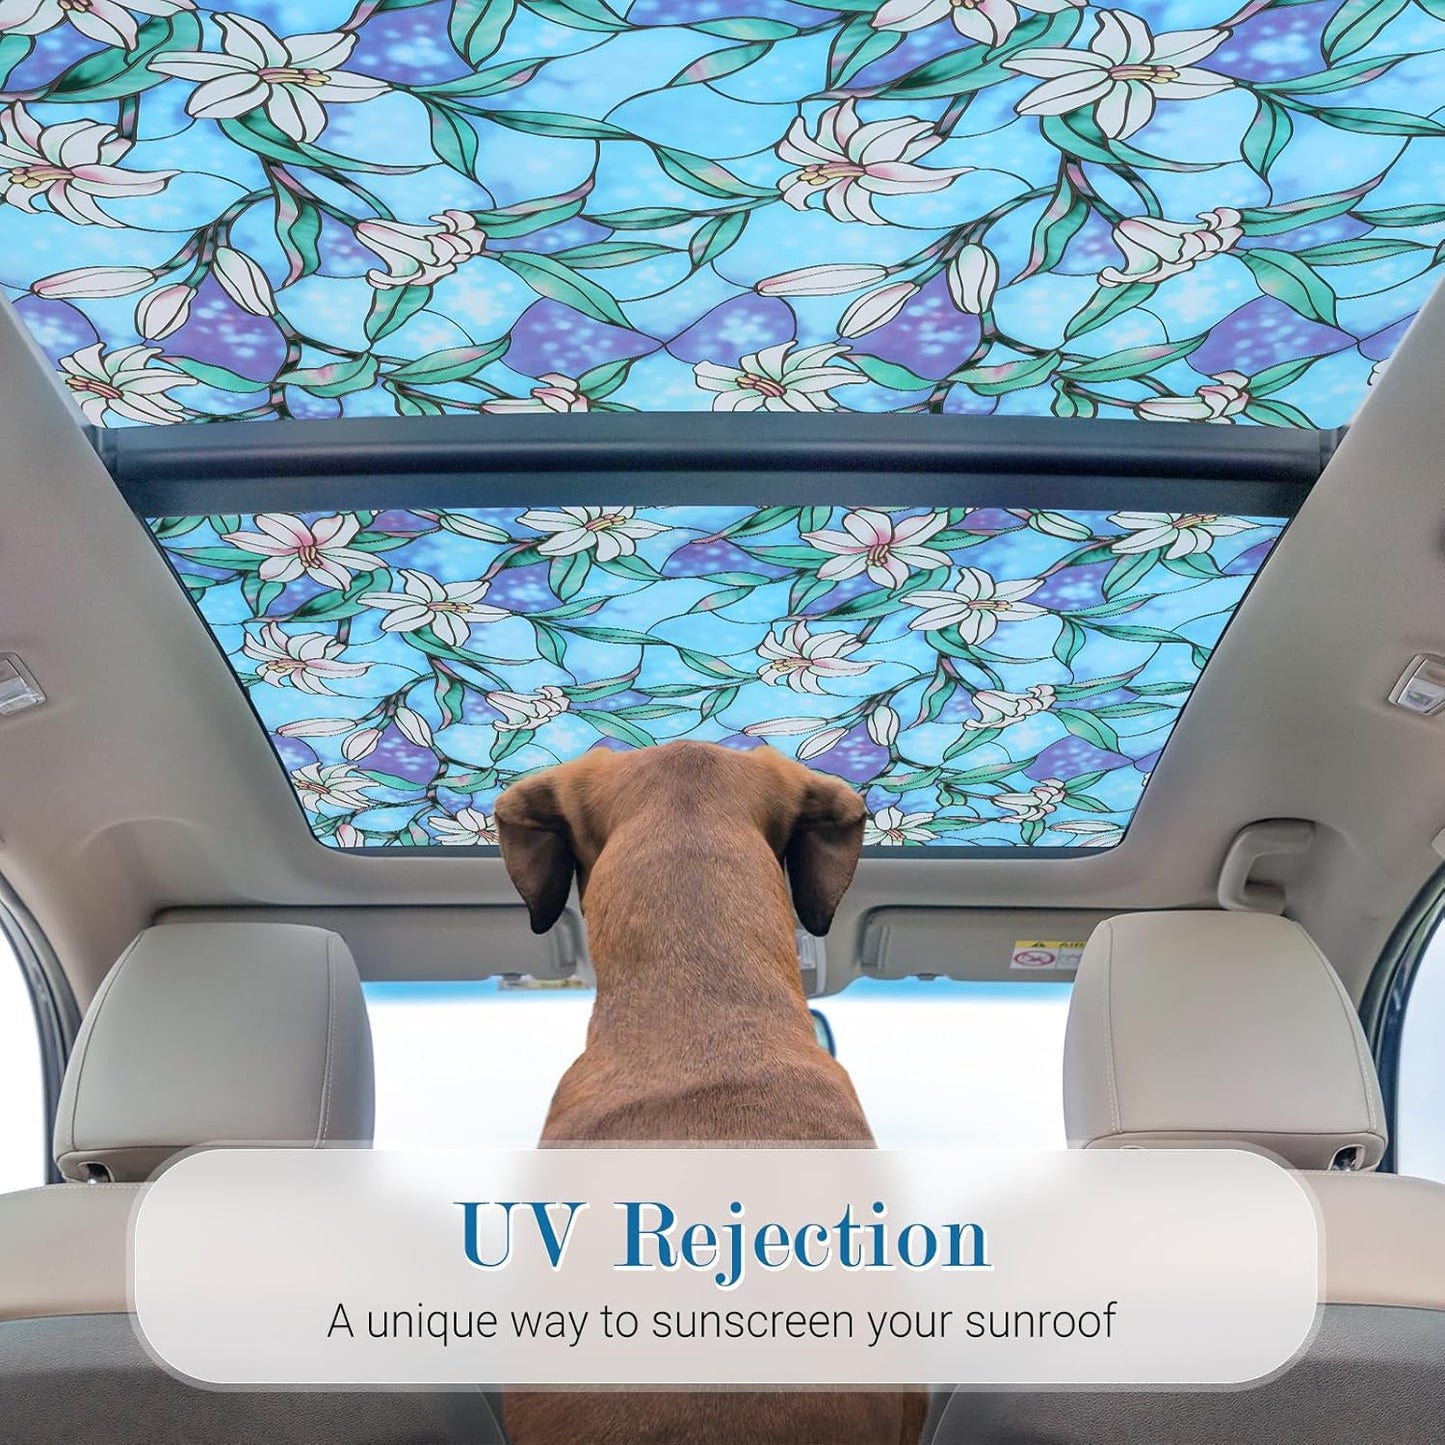
Block UV Rays
Blocking harmful UV rays, filtering out harsh glare, and transforming bright areas into art galleries of natural light

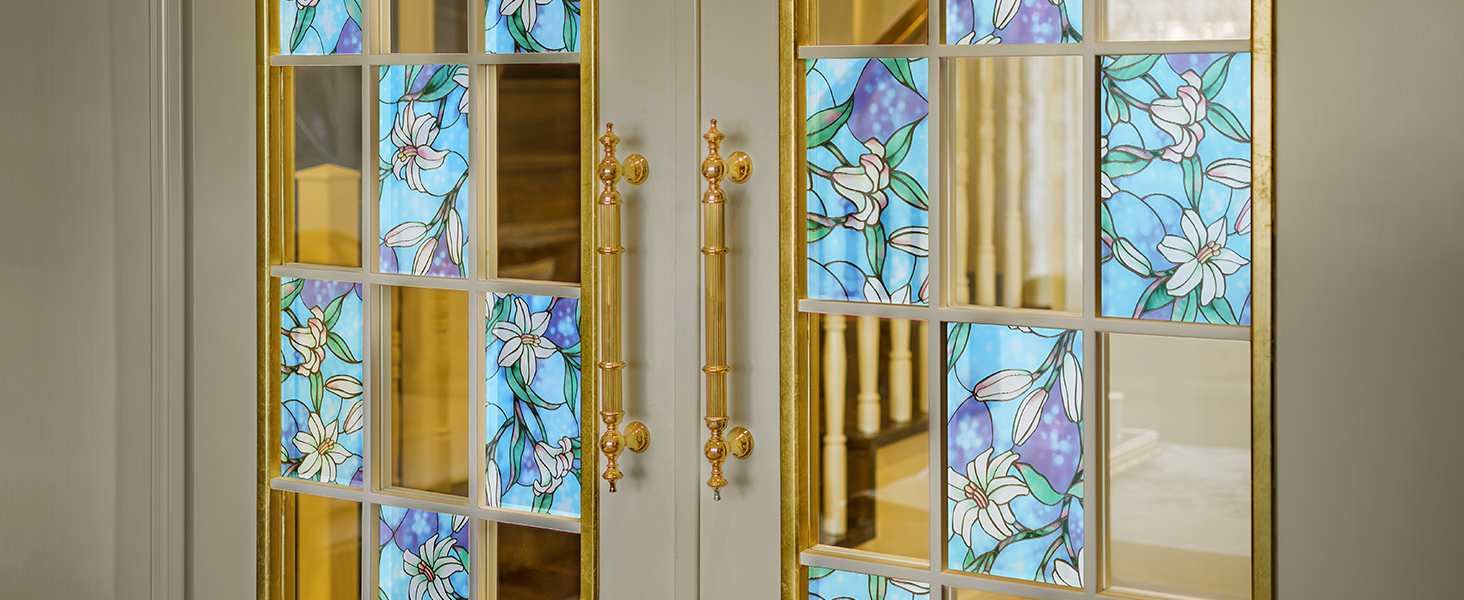
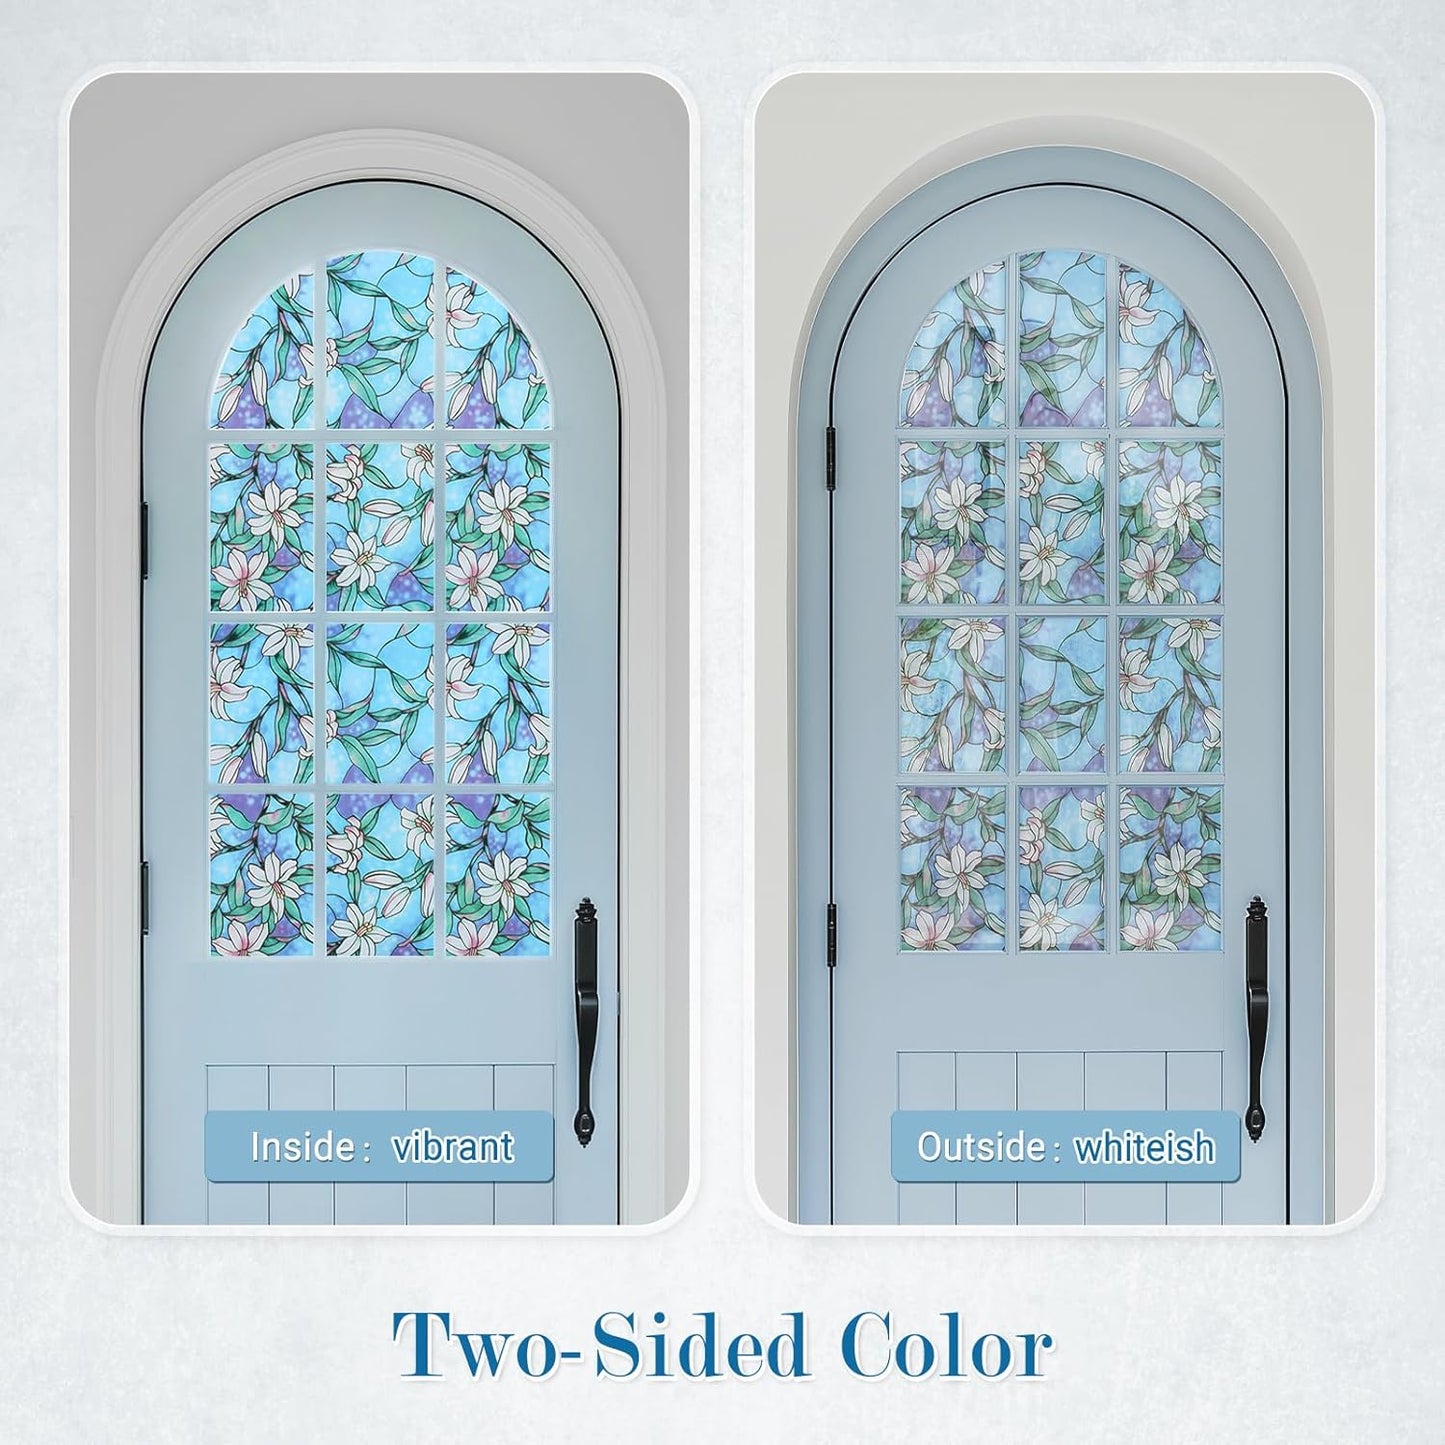
Double-Sided Color
Double-sided patterns on window privacy film bring elegance to both sides of your glass, creating a harmonious blend of beauty inside and out

Easy to Install

Installation for Window Film