


Rabbitgoo Home
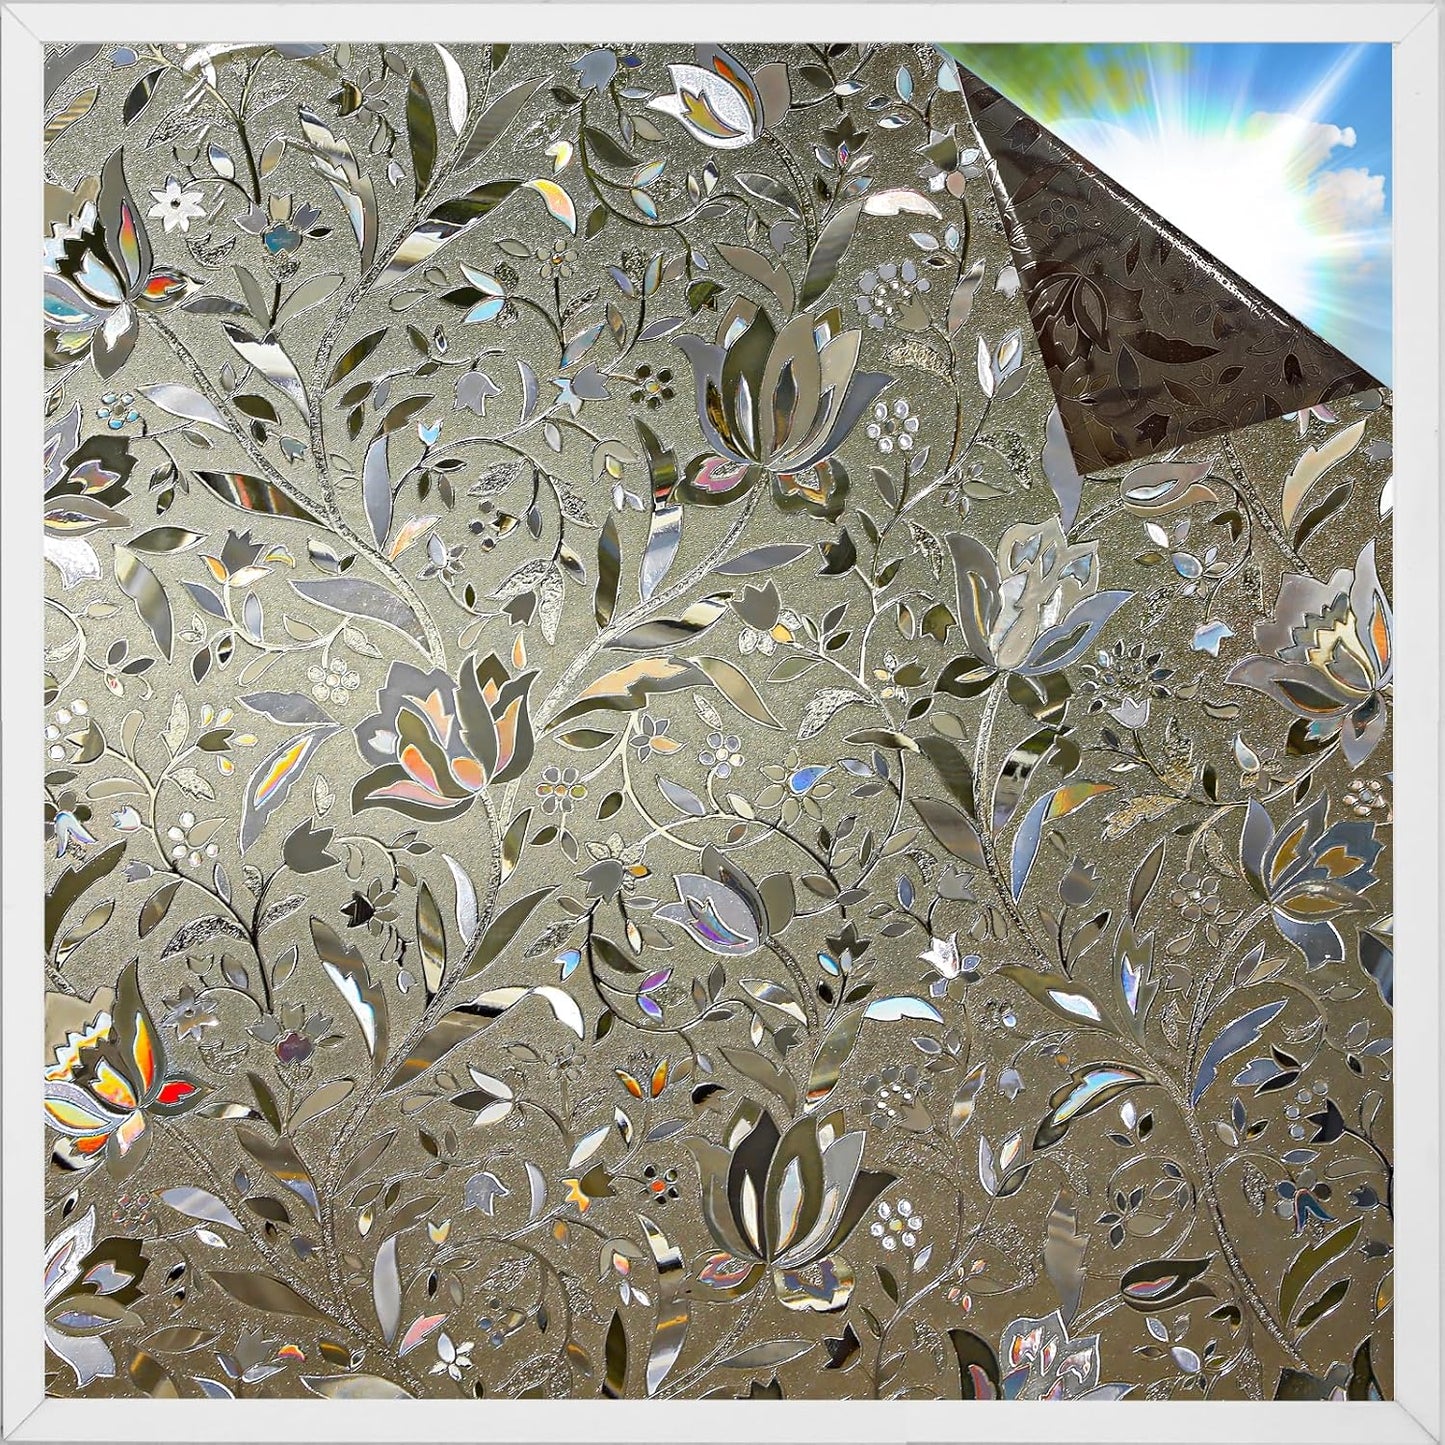
Rainbow Tulip Privacy Window Film
Rainbow Tulip Privacy Window Film
Description
Description

Our window film blocks out up to 84% of UVA rays and 99% of UVB rays. It's a safe and effective way to protect your skin and furnishings from the damaging effects of the sun. When you're ready for a change, simply peel off the film without leaving any residue behind
Why Choose Us?

Wonderful DIY Project
Create unique window decor with the flower design. Easily customize and cut to size for a fun DIY project with your family.

Enjoy Natural Light
This window sticker can filter strong light, block glare, and cast a non-dazzling rainbow, allowing you to work and study in the soft sunlight.

Decorate Wherever You Want
The floral pattern of this window film can elevate the decor of any room, whether it's the living room, bedroom, kitchen, office, or even classroom.

24H Privacy Protection
The stained glass sticker obscures people/objects indoors to provide semi-privacy. You can only see some color and shadowy movement even at night.

rabbitgoo glass window film offers a renter-friendly solution for adding privacy and style to your windows without the need for expensive window coverings. Experience a stunning rainbow effect when the sun shines through our window film, adding a touch of beauty and elegance to your living space.
Bedroom

rabbitgoo window film
Privacy Protection
Provide privacy by reducing the visibility from outside, allowing you to feel more secure
Front Door

rabbitgoo window film
Great for Reactive Dogs
The privacy film provides a layer of obscurity, preventing dog from barking at people out the door.
Laundry

rabbitgoo window film
UV Blocking
Blocks UV out, the window frost film can protect fabrics and furnishings from fading
Kitchen & Cupboard

rabbitgoo window film
Decorate Your Home
Add a stylish and decorative touch and obscure the view of the contents inside the cabinets
Classroom

rabbitgoo window film
Perfect Curtain Replacement
Classroom door window cover -- No more fighting curtains when opening the door/windows
Decorative Window Film with Semi-Private Protection

For decorative purposes only in bathrooms.
Not recommended for high privacy coverage!
More rabbitgoo high privacy level window film for your choice

How to Choose the Right Window Film?
Decide where you need to apply.
High privacy level for the bathroom, or need the beautiful pattern to decorate living room and so on.
Get the look and figure you like.


Easy to Install

Installation for Window Film