Rabbitgoo Home
Cross Pattern UV Blocking Window Film
Cross Pattern UV Blocking Window Film
Description
Description
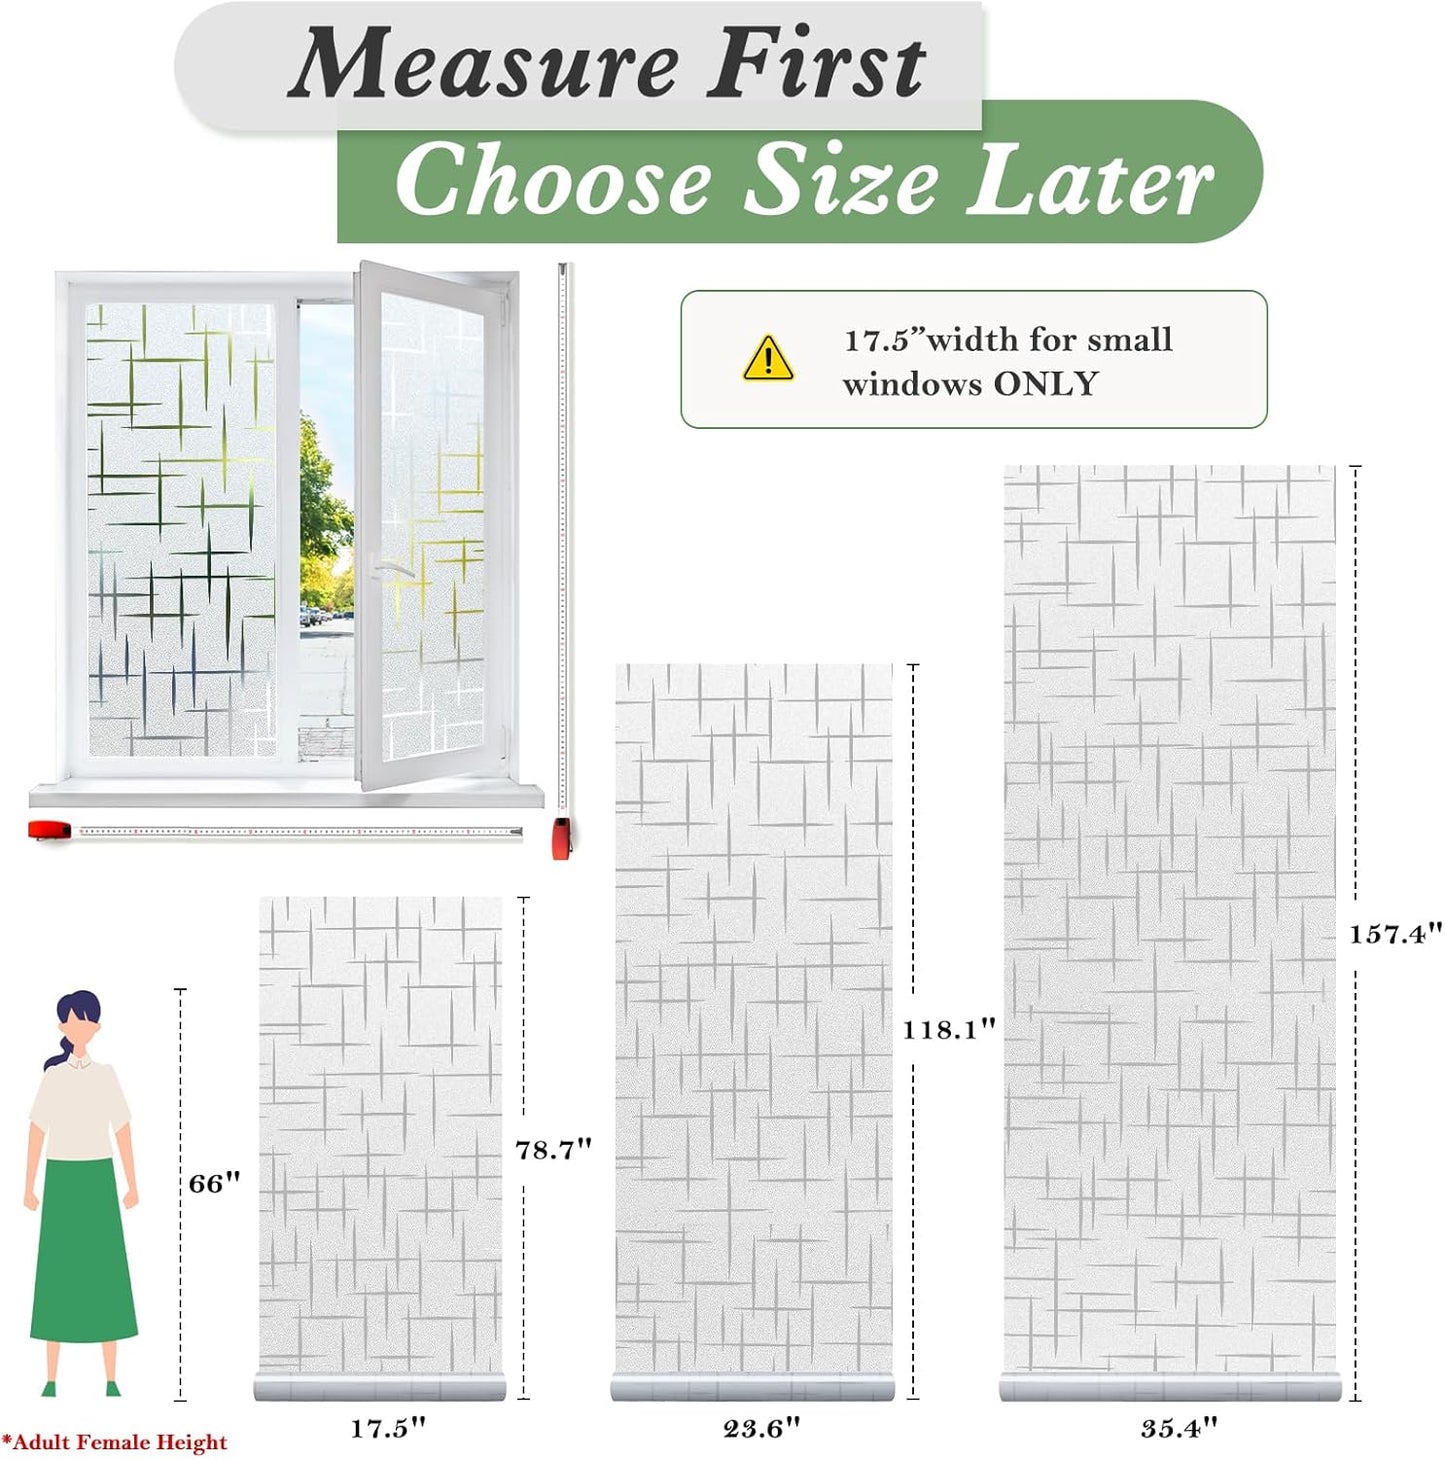
Reminder: Measure Windows First, Choose Size Later

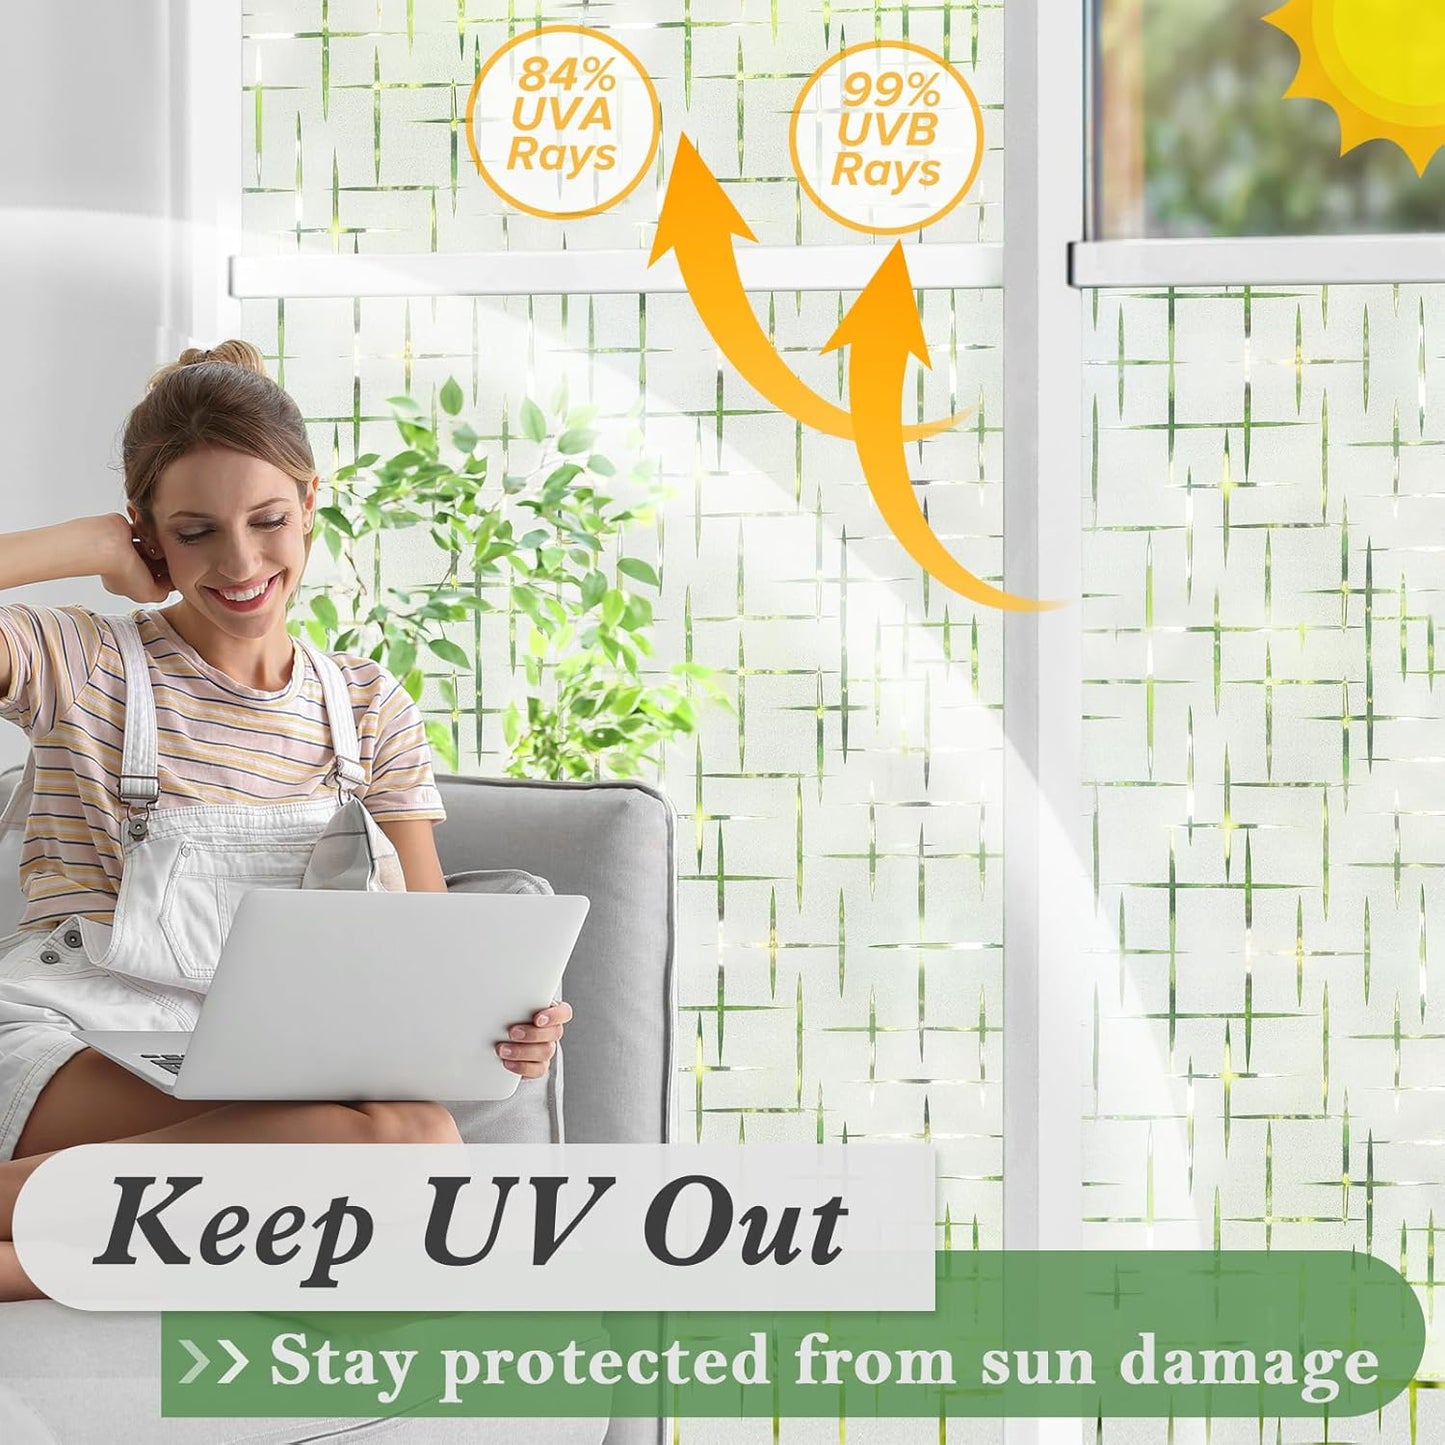
Strong Sunlight Blocked, Harmful UV Rejected


rabbitgoo Frosted Glass Window Film could block out 84% UVA rays and 99% UVB rays, effectively reduces annoying glares, ensuring the safety of you and your family while minimizing the fading and aging of interior furnishings
Simple peel-and-stick Installation

Static cling no glue design, adheres smoothly to any clean glass surfaces just with water, easy to remove and be reused for multiple times, making it perfect for homeowners and renters alike.
Beautiful and Functional

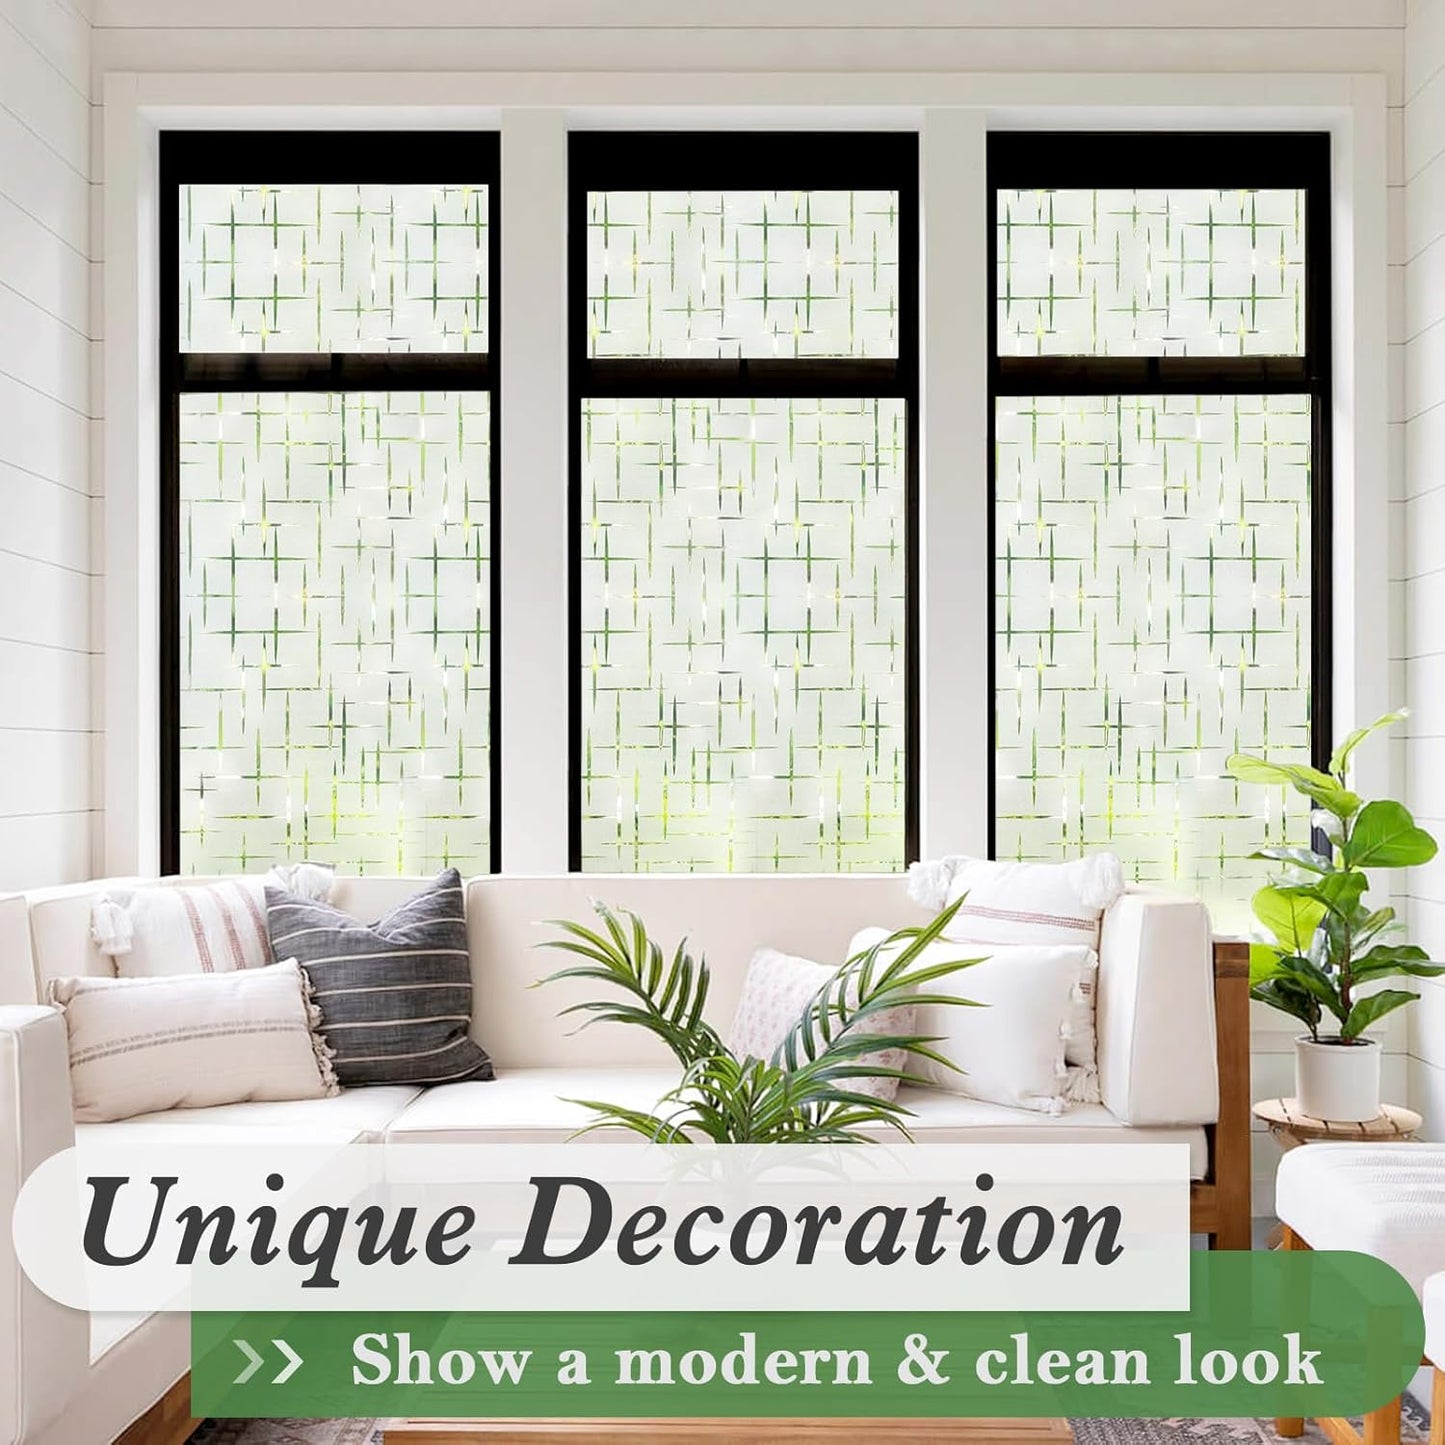
Modern & Clean Look
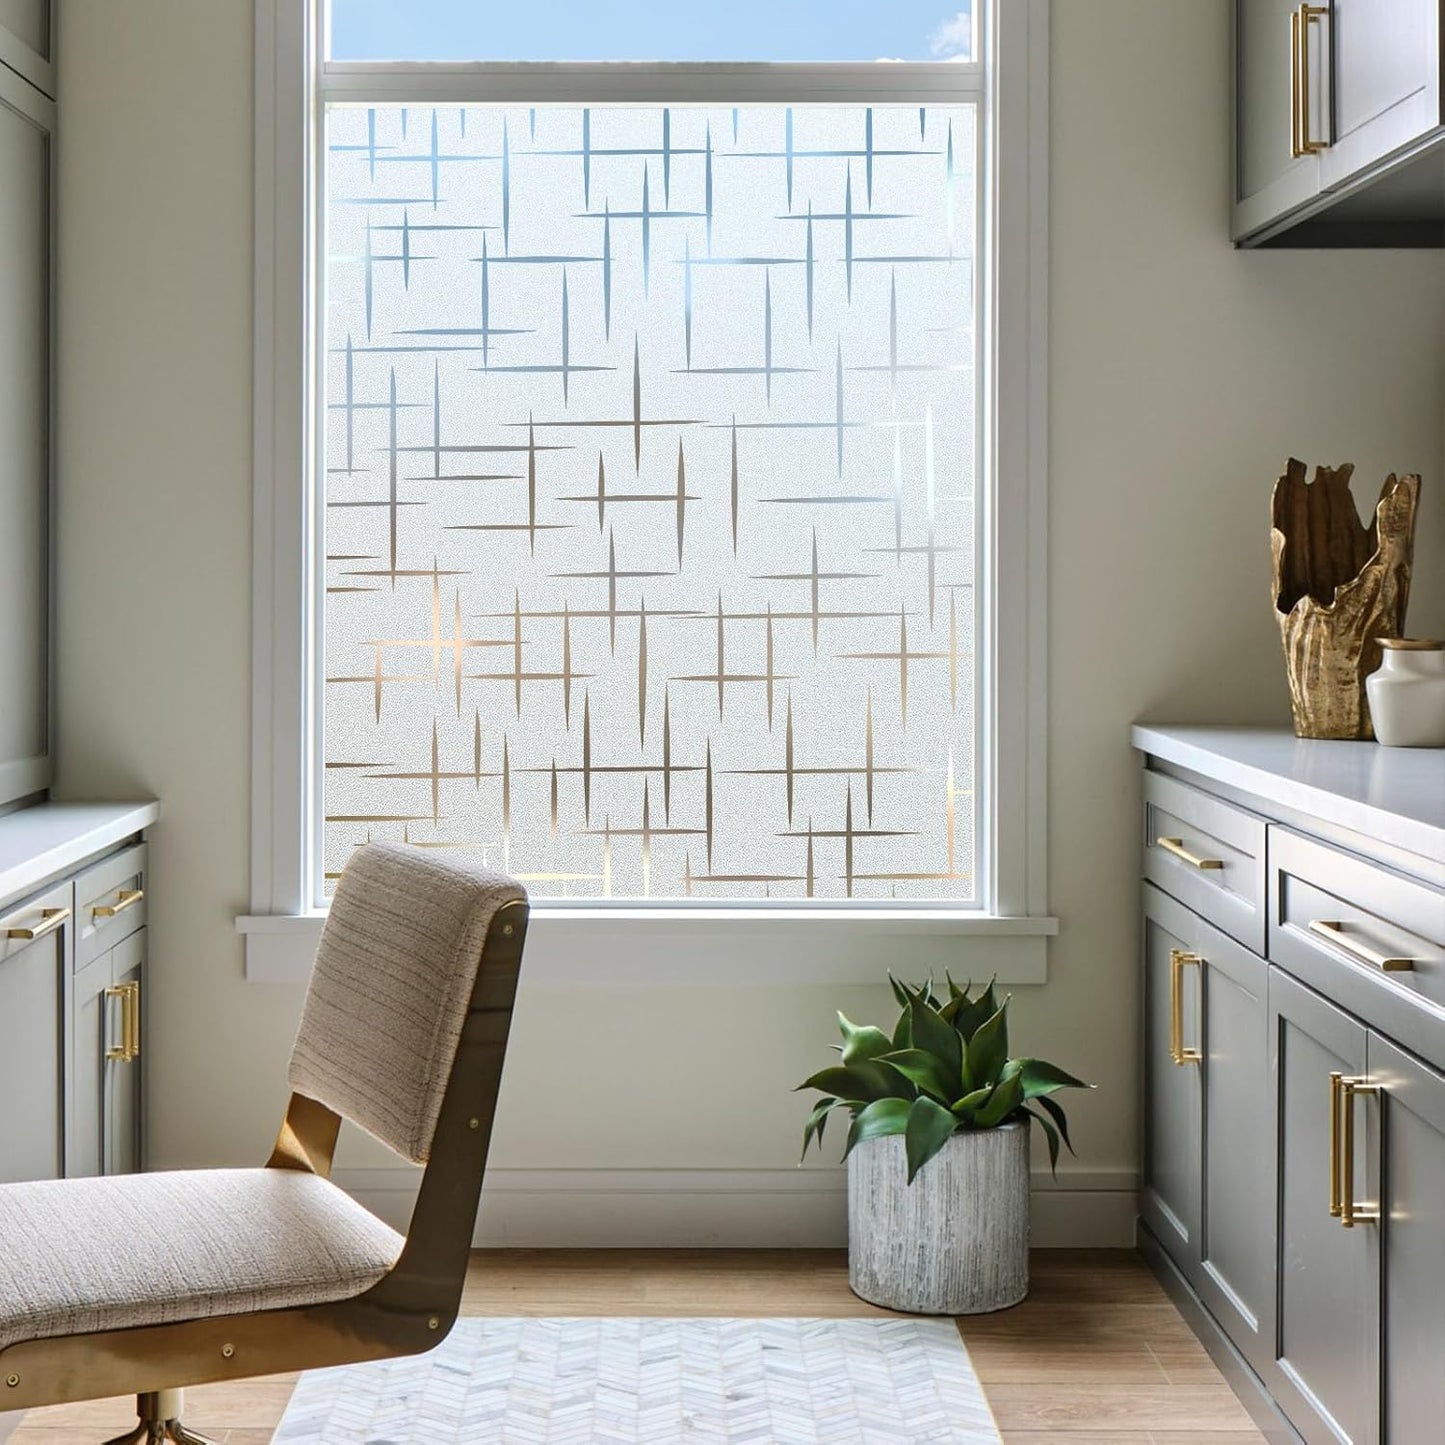
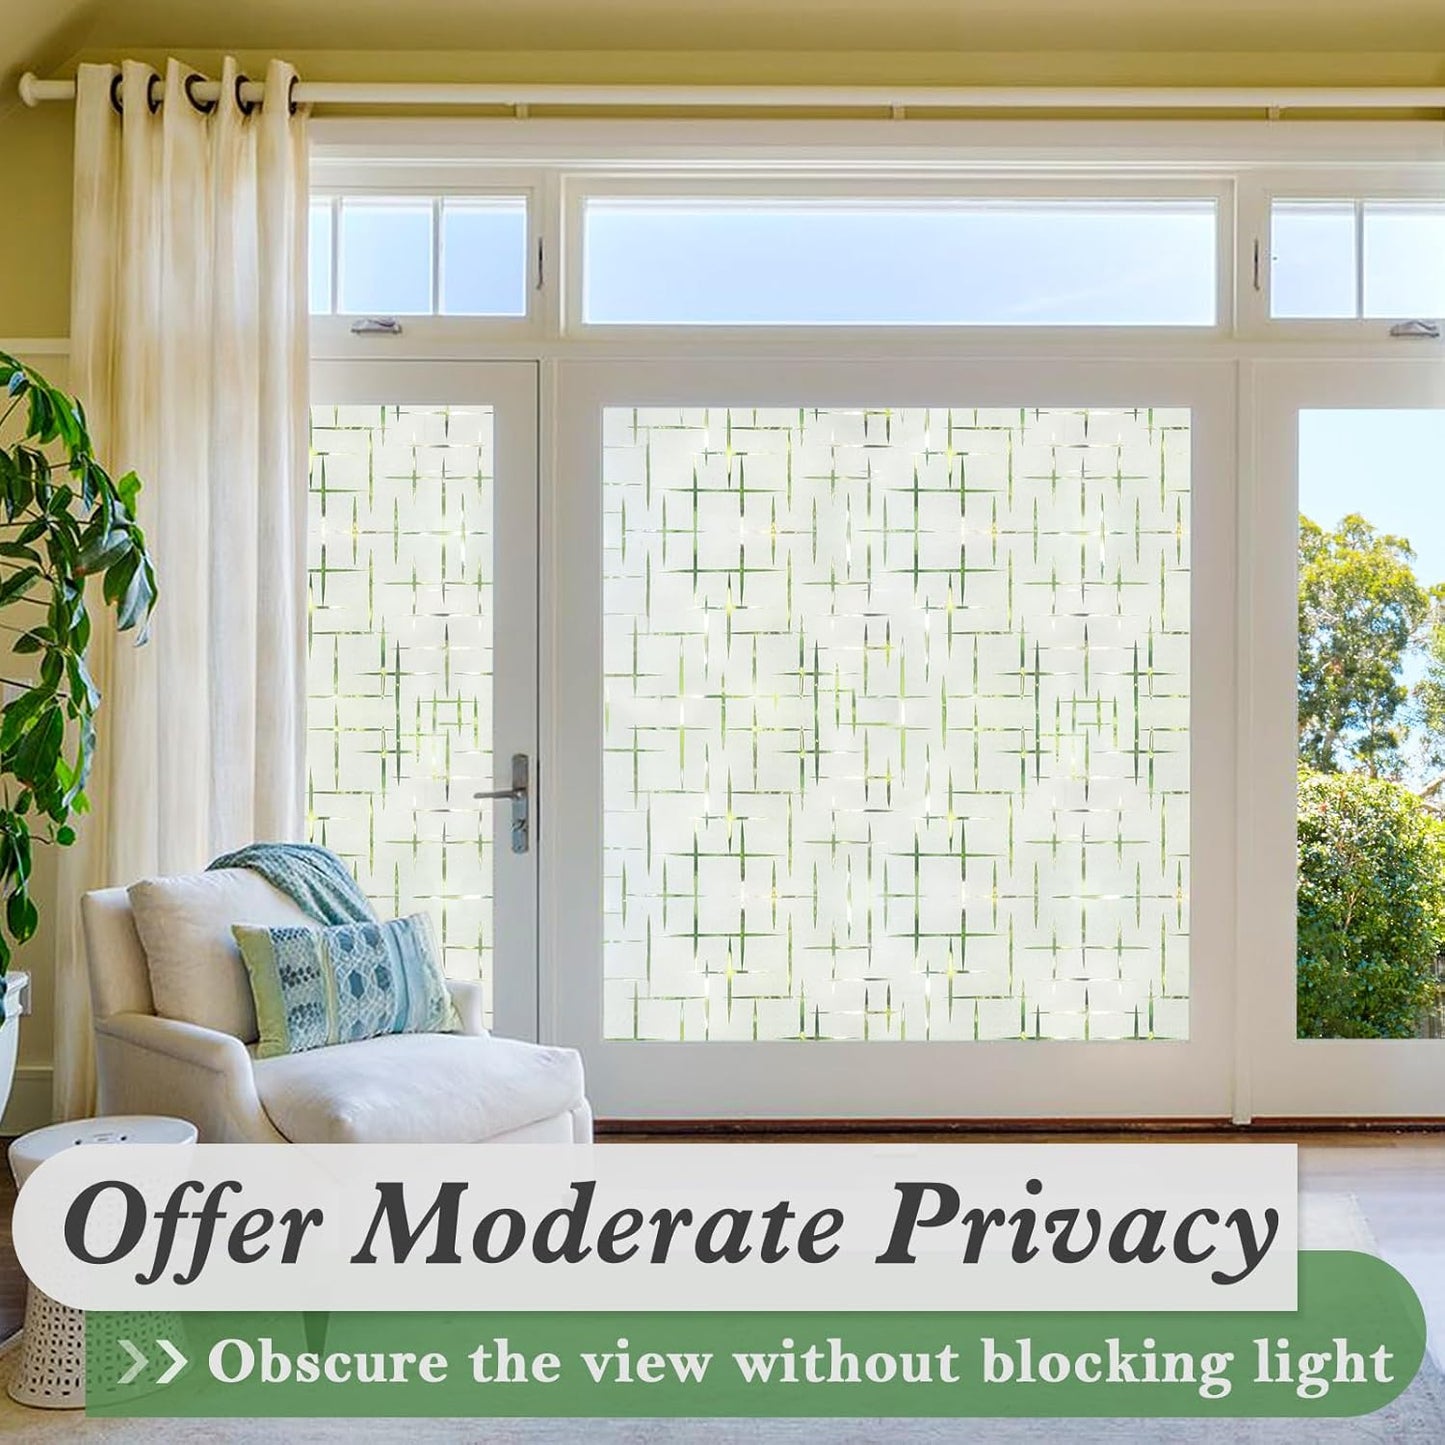
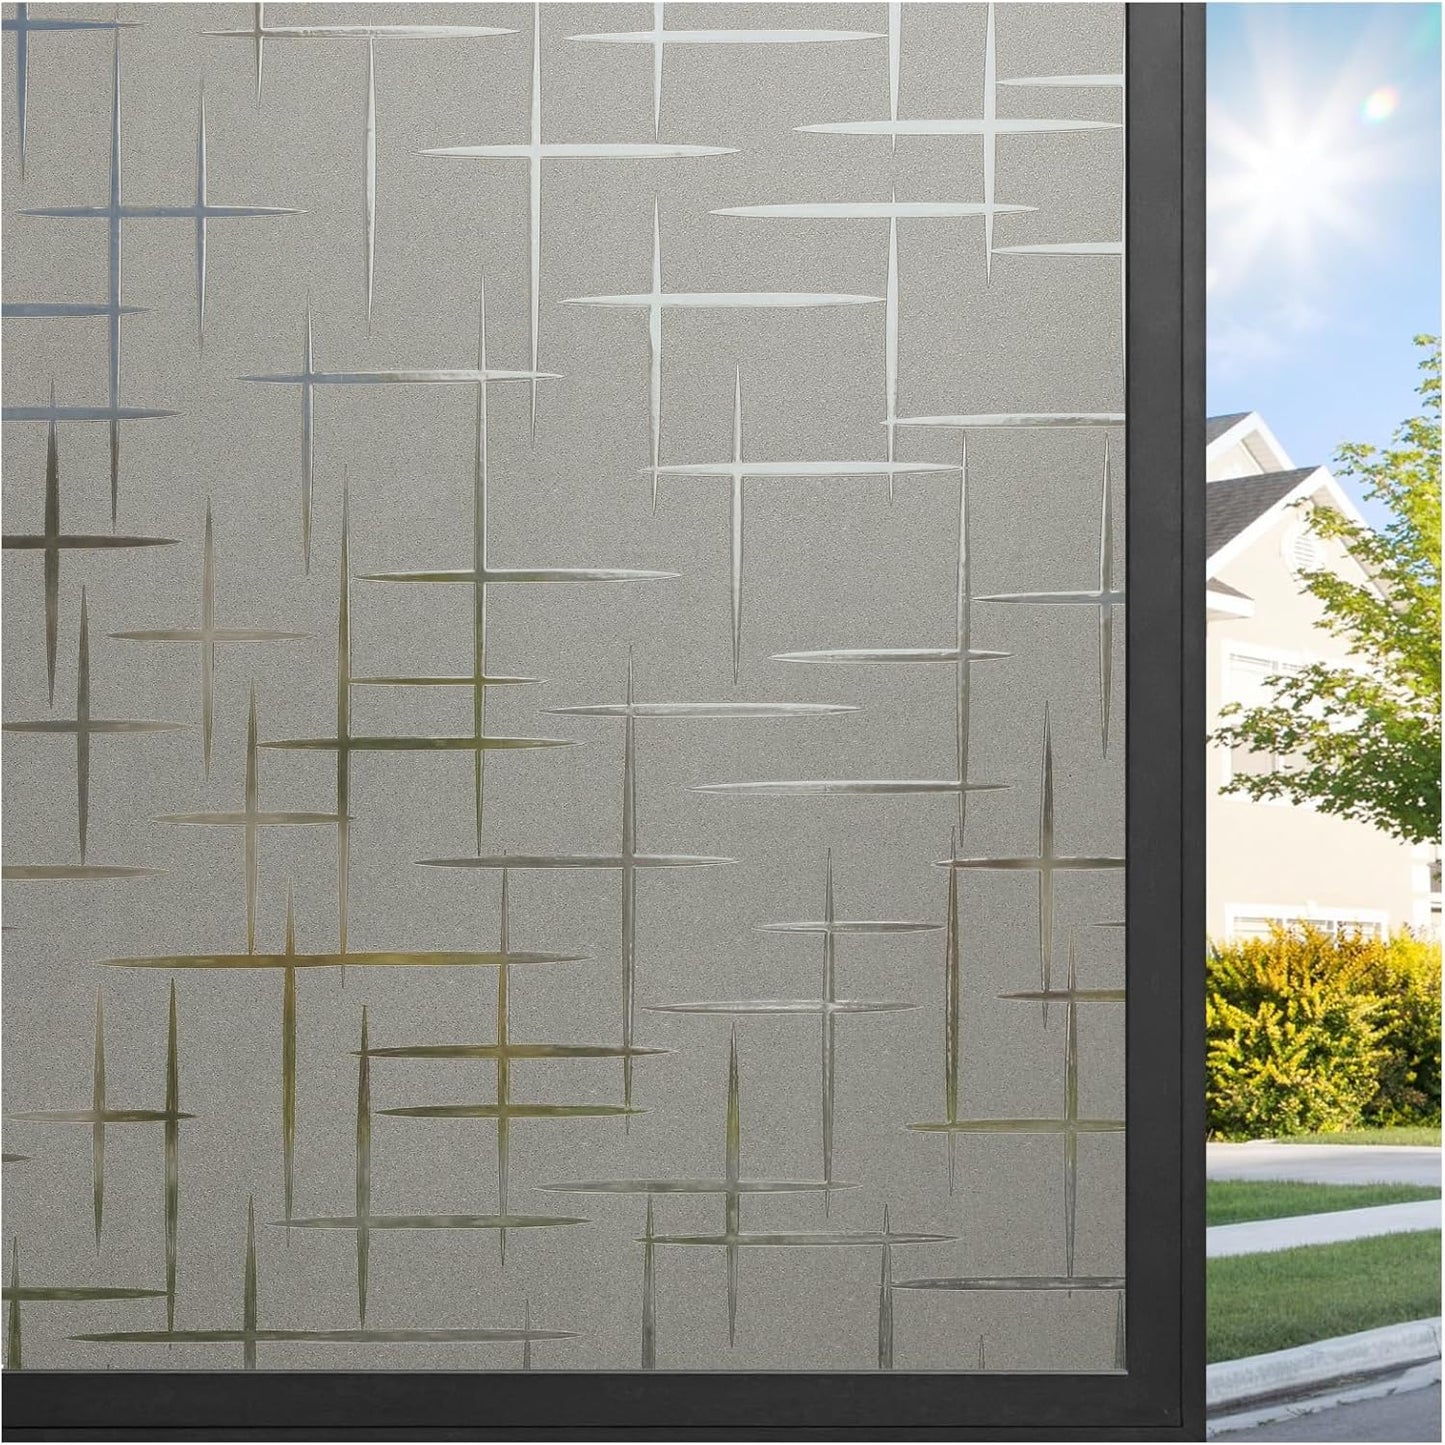
With 3D cross pattern design, this decorative window film transforms regular glass into a thing of beauty, more chic than just plain frost film.

Privacy & Natural Light
This window privacy film offers moderate privacy while still letting in plenty of light, a beautiful alternative to curtains or blinds

A Quiet & Private Home
Put this frosted film along the bottom pane of your window or door to prevent the dog barking at everything that goes by, living a more relaxing life

Easily Removed
This static cling window film can be easily removed, and you can reposition and re-apply it multiple times according to your need. Spray a lot of water during installation

Installation Instructions
1. Measure and cut the film. Clean the target glass surface thoroughly.
2. Peel off the transparent backing film from the window film. (Very Important!!!)
3. Spray lots of water or soapy water both on the smooth side of the window film and the glass surface, then install the window film.
4. Use a squeegee or hard card to scrape out all bubbles and excess water.
5. Trim off the margins, use a cloth to flatten out the film.
Share


Easy to Install
Apply in minutes with no tools needed. Bubble-free, reusable, and perfect for privacy, style, and UV protection.
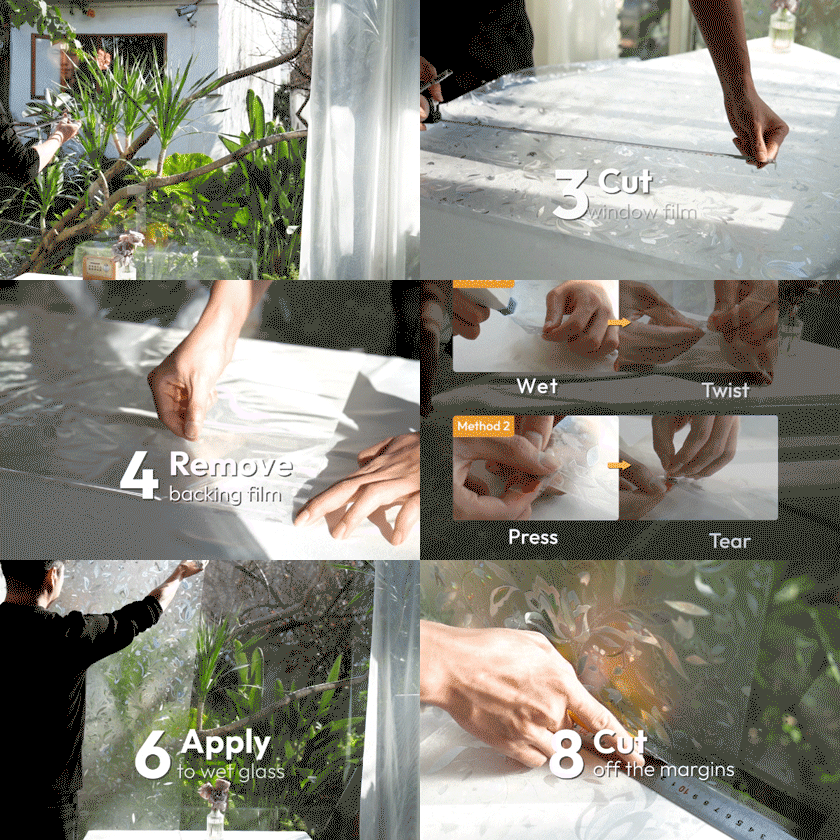
How to Install Window Film
To install contact paper, clean the surface thoroughly, then measure and cut the paper with extra room for the edges. Gradually peel off the backing while sticking the paper, smoothing out bubbles as you go. Trim the excess and use a hair dryer to stretch and seal the edges, especially around corners, for better adhesion.


